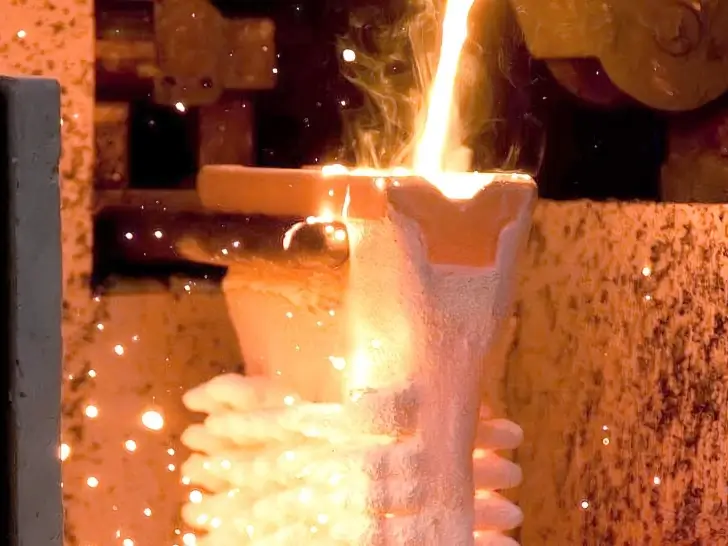
As someone with years of experience in the investment casting industry, I’m often asked, “How do you create such complex and precise metal parts?” My answer always points to the heart of the process: the ceramic shell building stage. It’s a critical, behind-the-scenes art form that directly determines the quality of the final casting.
If you’re sourcing components globally, understanding this process helps you evaluate suppliers and ensure part quality. In this guide, I’ll walk you through the step-by-step shell building process we use to achieve high-integrity castings for our clients worldwide.
What is the Investment Casting Shell?
In simple terms, the shell is a heat-resistant ceramic mold built around a wax or 3D-printed pattern. After the pattern is melted away, this hollow shell becomes the precise cavity into which we pour molten metal—from stainless steel and superalloys to aluminum and brass. A well-constructed shell must be:
- Strong enough to handle molten metal pressure.
- Stable to maintain dimensional accuracy.
- Porous enough to allow gases to escape.
The Step-by-Step Shell Building Process
The creation of a robust shell is a cyclical process of coating, stuccoing, and drying. Here’s how we do it:
1. Pattern Assembly: The Foundation
Before we even touch ceramic, the wax patterns (exact replicas of your part) are carefully assembled onto a central wax “tree.” This cluster, which we often call a “pattern assembly” or “wax tree,” allows us to cast multiple components in a single pour, ensuring efficiency and consistency.
From my experience: The quality of the wax pattern is paramount. Any flaw here will be replicated in the final metal part. Proper assembly is the first step to a successful casting.
2. The Face Coat: Capturing Every Detail
This is the most critical layer for achieving a superior casting surface finish.
- Ceramic Slurry Dip: The entire wax assembly is dipped into a primary ceramic slurry. This slurry is a mix of extremely fine refractory materials (like Zircon flour or Fused Silica) and a binder (typically colloidal silica).
- Stucco Application: While the slurry is still wet, we immediately coat it with a fine, sandy refractory material (the “stucco,” often Zircon sand). This creates a mechanical key for the next layer and begins building shell strength.
Why it matters: This first coat is what directly contacts the molten metal. Its fine composition is what captures every intricate detail of your design.
3. The Backup Coats: Building Robustness
One layer isn’t enough. To withstand the tremendous heat and pressure of pouring, we need to build a thick, strong shell.
- We repeat the cycle: Dip in Slurry → Apply Stucco → Dry.
- For these secondary layers, we often use more economical refractory materials like Molochite or Alumino-Silicate.
- The stucco sand becomes progressively coarser with each coat to add bulk and permeability.
A common question we get: “How many layers are needed?” It depends on the alloy and part size. A typical investment casting shell might have 5 to 9 layers. A large steel casting requires a thicker shell than a small aluminum one.
4. Controlled Drying: Preventing Defects
After each coating cycle, the shell must be dried under strictly controlled temperature and humidity. Rushing this stage is a common mistake that can lead to shell cracks or warping, which in turn causes casting defects. We allow ample time (often several hours between coats) to ensure the shell gains its “green strength” uniformly.
5. Final Drying & Dewaxing: The Transition
Once the final coat is applied, the entire shell assembly undergoes a final extended drying period. Then, the real magic of the “lost wax process” happens.
- Dewaxing: We place the shell upside-down in a high-pressure steam autoclave. The intense heat and pressure rapidly melt the wax, which flows out, leaving a perfect hollow cavity inside the now-empty ceramic shell.
- Firing: The empty shell is then fired in a furnace at high temperatures (around 1600°F / 870°C and above). This process does two things: it burns out any last traces of the pattern, and it sinters the ceramic—fusing the particles together to create a hard, rigid, and ready-to-pour mold.

Conclusion: Why the Investment Casting Shell Process Matters for You
As a buyer or engineer, you don’t need to know every detail, but understanding this shell-building process highlights why investment casting is ideal for complex geometry parts with excellent surface finish. The meticulous, multi-layered approach is what allows us to produce net-shape or near-net-shape components that require minimal finishing.
When you are sourcing metal castings or looking for a reliable investment casting supplier, don’t hesitate to ask about their shell-building capabilities. The answers will give you great insight into their quality standards and their ability to deliver the precision your projects demand.


